I bought my first house this past summer, and I have been having so much fun doing ALL the DIY’s. I was never really able to before, as a renter, and now it feels amazing to stretch my DIY wings. There were several upgrades that the flipper made to my house, but it still needs plenty of work. Enter, my DIY painted tile kitchen floor makeover.
The Before
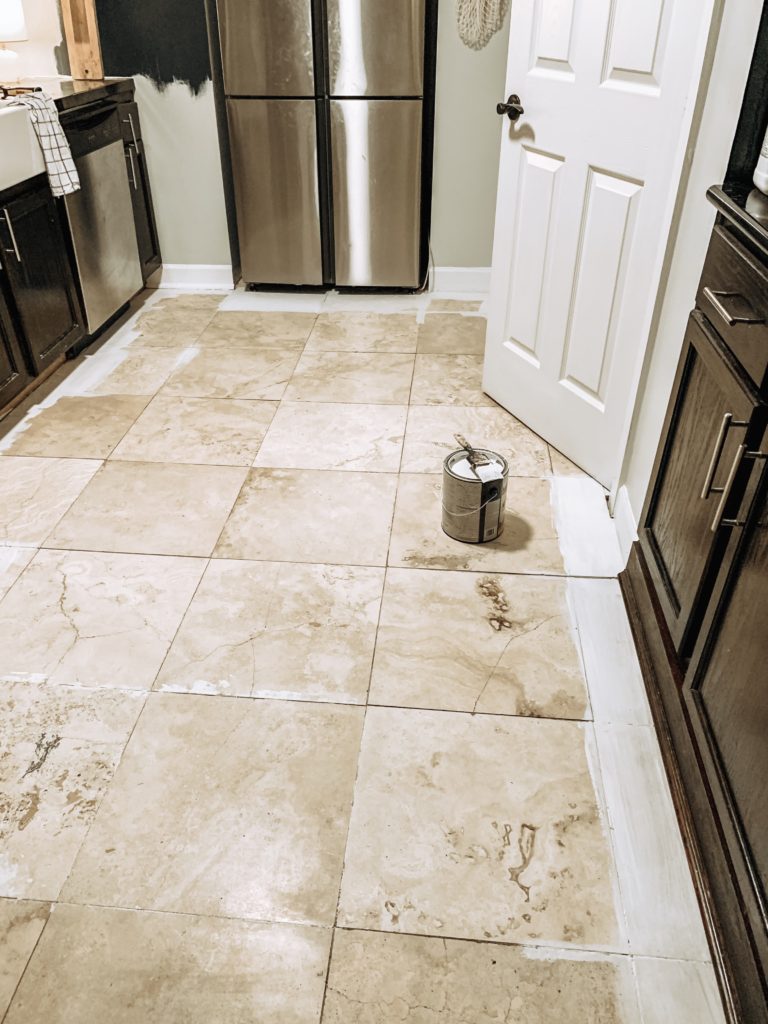
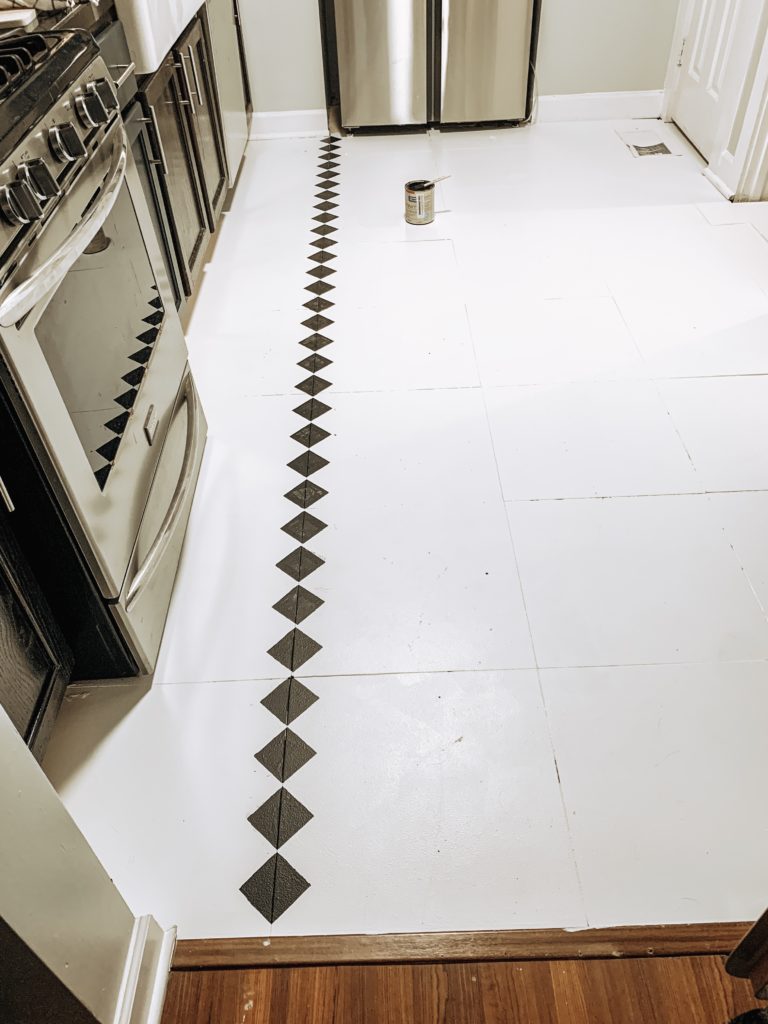
Like all good afters, there’s a before. And this is an ugly before. I had the basic beige travertine tile in my kitchen, and there was no way I was gonna live with it. I’ve had my fill of that tile for one lifetime. I priced out what it would cost to replace my floor with beautiful white hexagon tile. My kitchen isn’t very big so I thought it wouldn’t be bad. Even if I did the work myself, replacing the floor was out of my budget. Sooo, painting it was my obvious answer. My inspiration was a classic black and white floor. (Photo from Pinterest, click the photo to go the source)
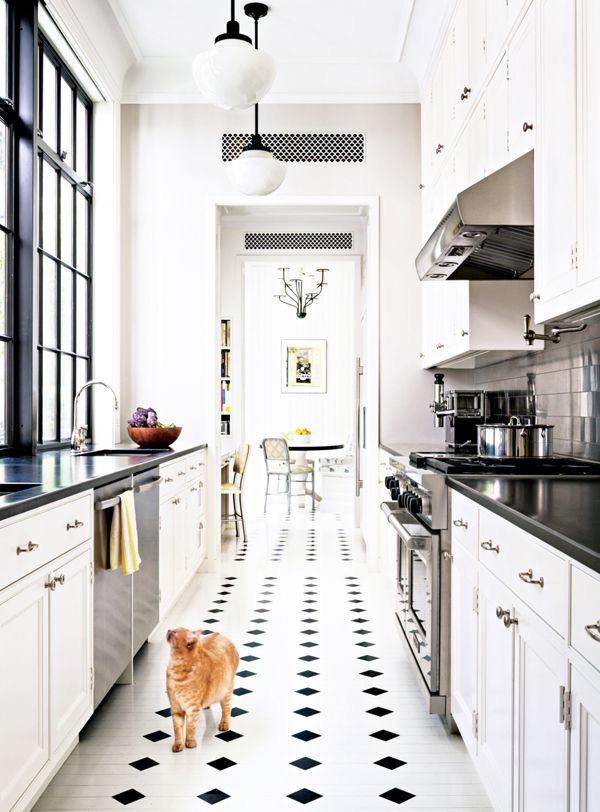
This was my floor inspiration. As well as the rest of the kitchen, but I digress. You work with what ya got, right? I was determined to have a new floor one way or another. Painting was the obvious solution. Right? Sure, we’ll go with that. I got on Pinterest, obviously, and started searching for painted tile floors. I found several, and really liked this tutorial from Remington Avenue. I followed it pretty closely. Check out her tutorial for full on step by step. I’m going to give you an overview of what I did.
The Painting
Now. Time to Paint. This DIY painted tile floor had me all kinds of nervous. I was afraid it would scrape right up. I was afraid I wouldn’t do a good paint job. What if I couldn’t paint the little diamonds right? Well, I’d have a messed up floor, we know that much. I sanded the tile, I mopped the tile, I swept the tile, and I vacuumed the tile. I did everything I could possibly do to make sure it was prepped to the T. If it wasn’t, the primer wouldn’t stick and in turn, the paint wouldn’t stick. Did I mention I have a black lab? She sheds like she gets paid to do it.
I started with the edges, and put on the first coat of primer. I ended up doing two coats of primer. For tile floor, it is best to use a bonding primer, so that it will adhere to the tile, since its a pretty slick surface. This is the same primer I used on my DIY painted schoolhouse light. It’s good stuff man. I let the primer cure about 12-15 hours between each coat. So I would paint it at night and then go off to work in the morning, that way I could actually use the kitchen during waking hours. Once the final coat of primer had fully cured, it was time for the paint.
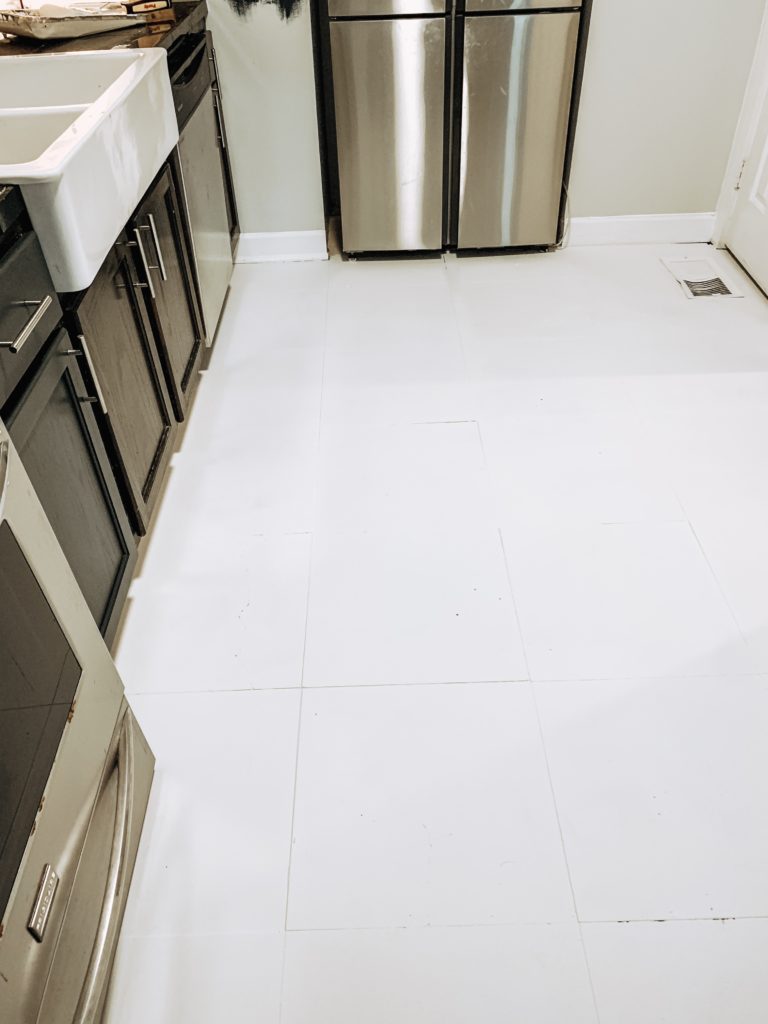
I used latex paint from Sherwin Williams in Pure White. I rolled it on with a Purdy roller, and used a brush to get up against the base boards and stove. I used the same strategy as the primer, painting at night before bed, then letting it cure overnight and during work hours. I put on two coats of paint. Once the last coat was fully cured, it was time for the sealer. I opted to go with the Sealkrete garage primer, since it would work with the latex paint, and you can use soap and water to clean it up. Figured it would be pretty durable too, since the kitchen obviously gets a lot of foot traffic.
The Stenciling
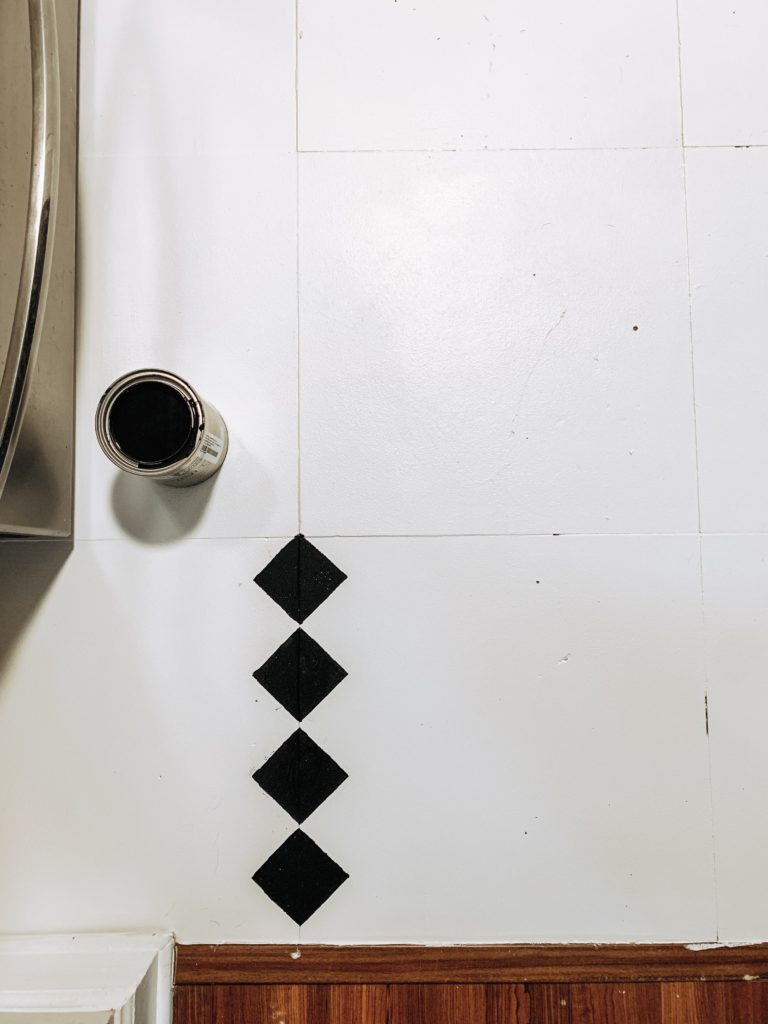
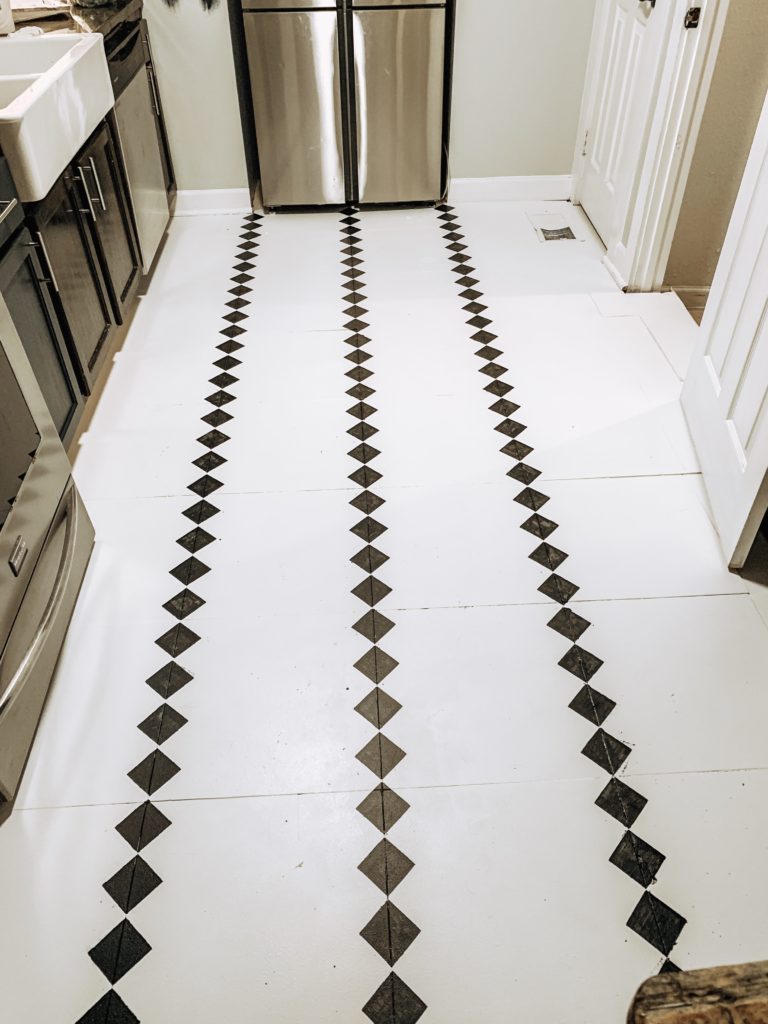
Now I had to figure out how I was going to paint on black diamonds. I need a stencil, and I needed to go cheap for this DIY painted tile floor. Funny thing is, its actually difficult to find a plain old square stencil, especially in the size I needed. I ended up getting a package of cardboard stencils from Walmart, and just used an exacto knife to cut my sweet little diamond. Now it was a pretty simple process. Paint and repeat. And repeat. And repeat.
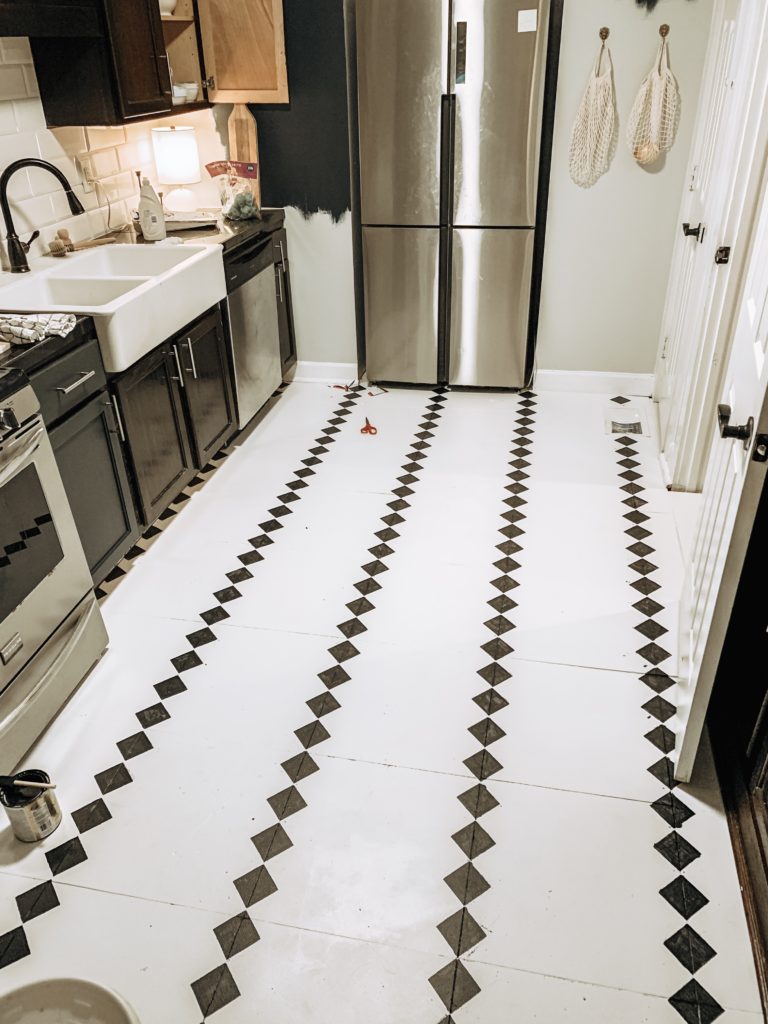
I also loved this simple pattern because the lines make my kitchen look longer. Bonus, woot woot! I painted one row at a time, using Sherwin Williams Tricorn Black, and let it dry overnight before I painted the next line. Lucky me, I just used the line of my tile to make sure it was straight. Thank GOD because I am not great at the measuring and the line drawing and the staying straight. Its hard work man. As you can imagine, not all of my squares were perfect. Once they dried and fully cured, I went back with a foam craft brush and touched up the edges with the white paint. Perfecto – Ish.
The Sealing
I chose not to fill in the little cracks and holes that were already in the tile. I felt that it made it more authentic anyway. OK, so I painted the diamonds, touched up the diamonds, everything has cured, now it was time for sealer. I swept, and I swept, and I swept. Remember that black lab I mentioned? She’s still shedding like she’s about to knit me a sweater out of it. Not gonna lie, there are totally some black hairs that got sealed into my floor. I picked out as many as I could as I went along, but couldn’t get them all. This infuriated me for a bit, but then, what can I really do about that? I did my best to get all the hairs out, but a few remained. I just ignore them now.
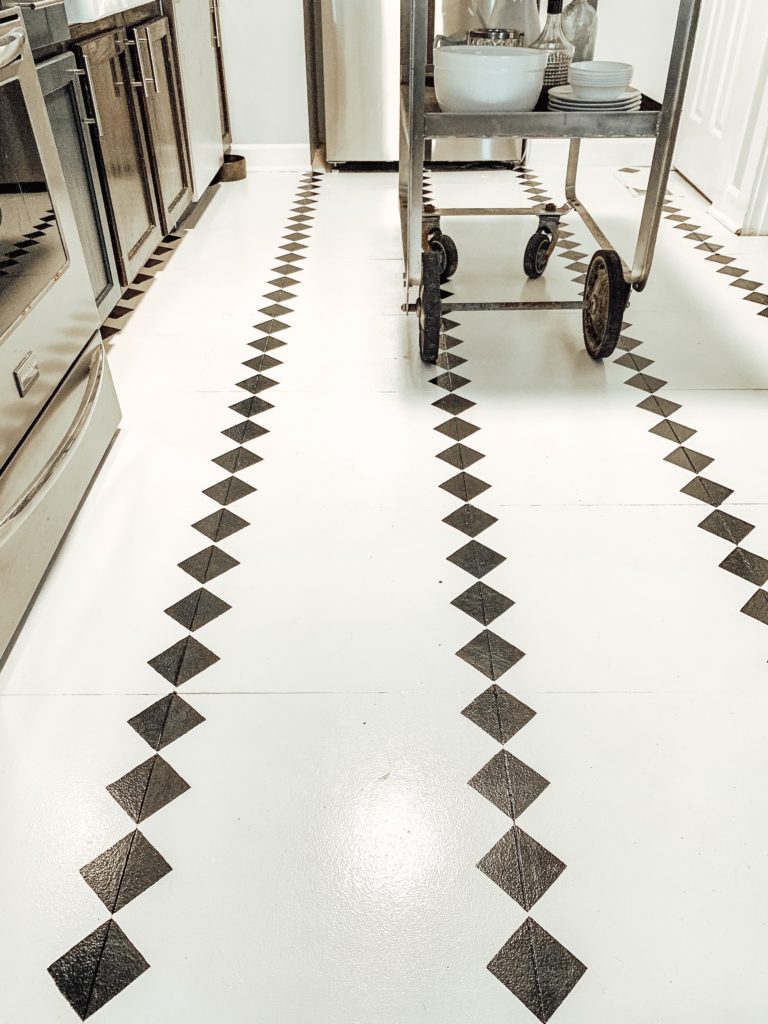
Can you guess what comes next after your first coat of sealer? Yup. Curing. I let it cure over night and during my work hours, then did a second and final coat. I let that sucker cure for 72 hours per the instructions. Then, she was all mine.
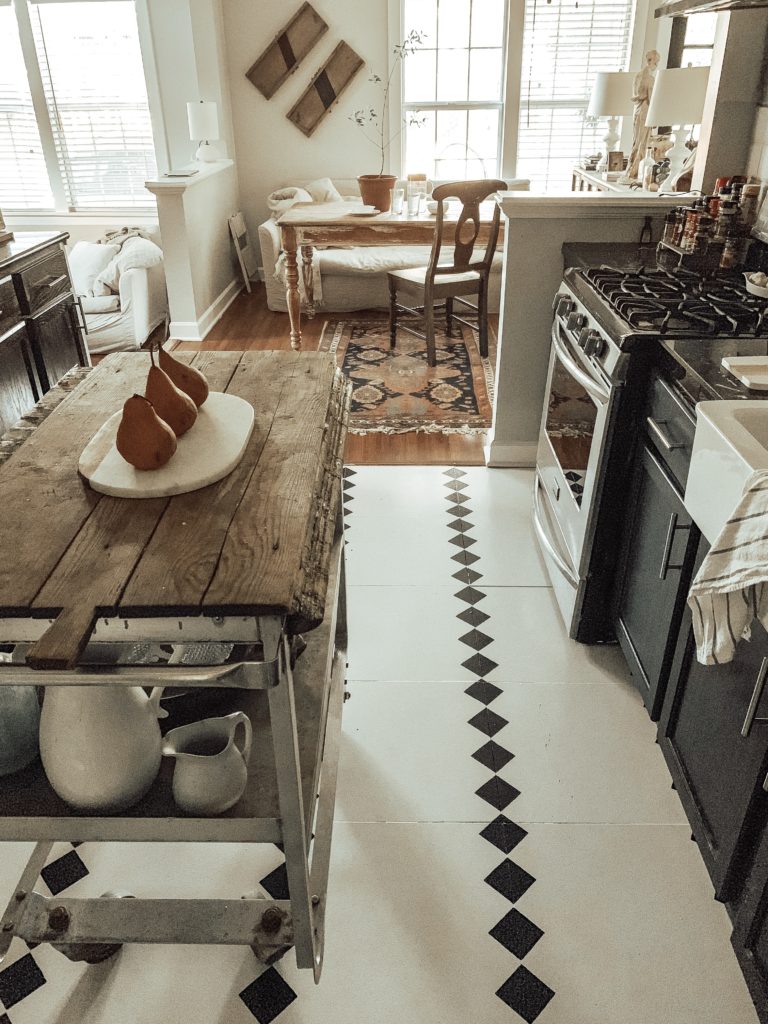
All Done
Black and white and love it all over. Per the directions it says that you can clean the floor with soap and water. I use all natural cleaner with no chemicals to mop the floor with. Its been a few months that I have been living with the painted floor, and my love has not waned. I do have two chips in the paint, but they are very small, and they haven’t grown in size since I noticed them. I suspect that I didn’t put enough sealer in these two particular places. Make sure that you really do your best to put on even coats. If I did it again, I would probably do a third coat of sealer.
There you have it. My DIY painted tile floor. You too can do this project, all you need is ugly tile that you want to cover up, primer paint and sealer, and patience. (None of the links are affiliate links, I just really like everything I worked with)
Would you ever attempt to do something like this? Let us know in the comments or send us an email!
Join the discussion +